 We have had a lot of snow this winter. I've got no complaints about the cold or the snow. I love Vermont winters. Eventually, however, that much whiteness on the landscape leads to the purchasing of and using of ridiculously bright yarn. Last spring I went through a green phase while I was waiting for ANYTHING to bud. So far this year, it's all about color. I especially like it when the colors bang off of each other.
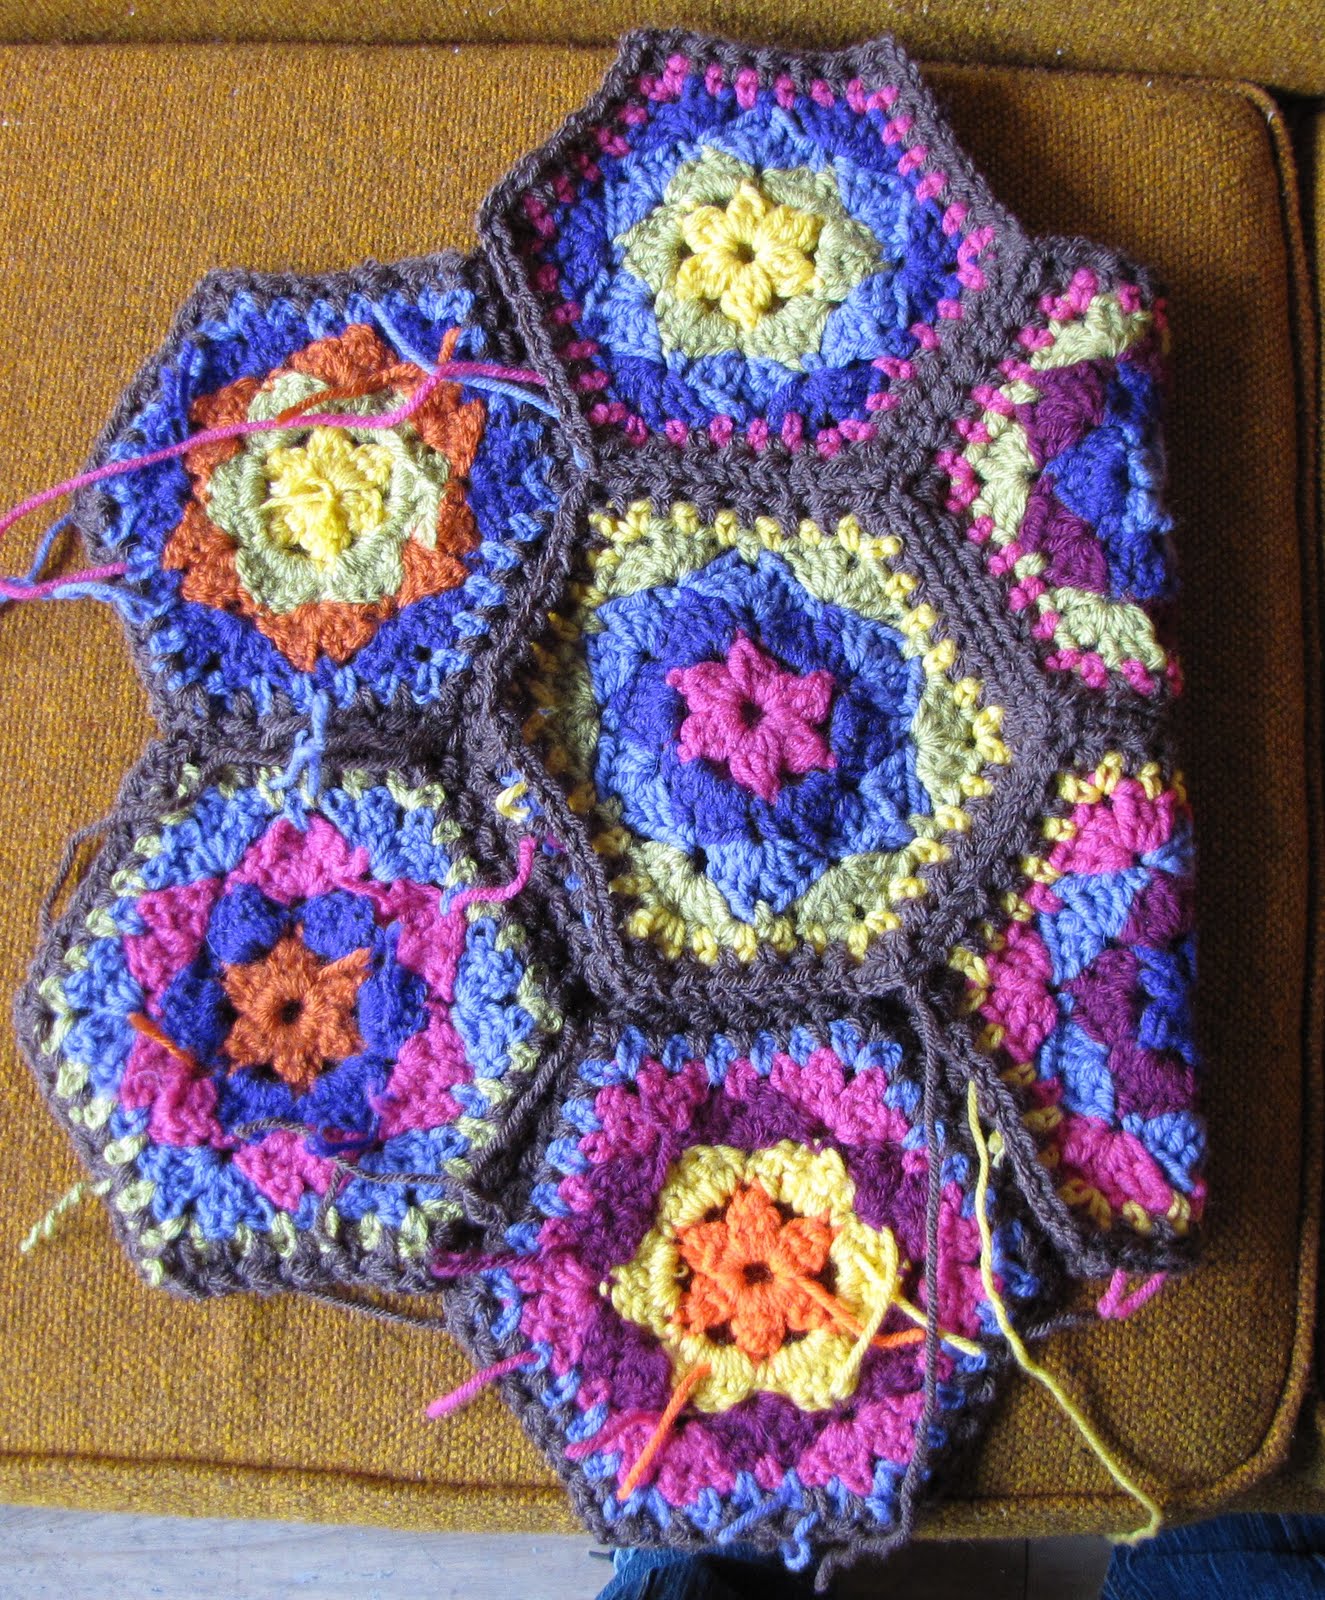
I made up a few batches of granny squares (or “motifs” actually because they are not square) based on the same pattern from the crown of the mullet hat. Then I outlined them in the same color per batch and sewed them together in a purse-like structure. Although the granny square motifs were not all the exact same colors, they were similar colors. I lined them in black, heathered gray, and brown. It was amazing to see how the different outlined colors changed the whole feel of the motifs.


Here is a tutorial so you can make your own gorgey bags with yarns that are too ridiculously bright or that are too ridiculously muted, if that's what you want.
Step 1: Follow this pattern and make 9 motifs. Obviously, I think you should ignore their color suggestions and improvise your own. I used a size K needle and worsted weight yarn. You do what you want to do.
Click here for pattern website.

Step 2: Add another round of your outline yarn following a repeating hdc (in the chain 1 of the previous round), chain 1 pattern. Leave a long tail to use to sew together the motifs. If these instructions sound vague, note that by the time you get to this point in crocheting the motif, they will totally make sense.


Step 3: Sew together the motifs in this shape.

Step 4: Fold over and sew where appropriate.

Step 5: Fold up the bottom and sew.

Step 6: Crochet a (hdc, chain 1) row around the top of the bag. I went back and forth across the toppest straight row three times to make it tall enough to fold over the handle without folding the colored part. If your handle is super big, you may need a few extra rows. Then I did a (sc, ch 1) row to make it really looked finished. Of course, I put the real stitches in the ch 1 from the row before and I chained the appropriate number of stitches to start the row.  Step 7: Sew on the handle.

Step 8: Line that bag so you don't have a tampon poking out of a hole.
Very nice.....might have to try one myself.
ReplyDeleteWow!!!
ReplyDeletethank you, xxxxx Ale